If you’re looking to organize your website content or create separate subdomain for various purposes, subdomains are best. Popular web host Bluehost makes it simple for customers to quickly and easily set up subdomains. Here we’re providing how to create subdomain in bluehost 2024, In this blog we’ll teach you through the process to create subdomain in your hosting account and also providing in-depth youtube video
Watch video for more details
How to create subdomain in bluehost 2024
Step-1 : Log in to Your Bluehost Account
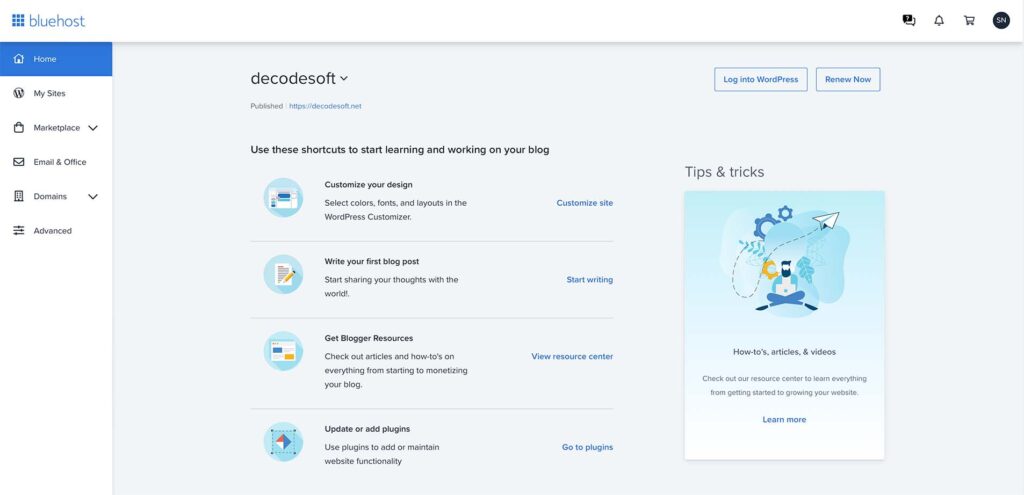
Start by logging in to your Bluehost account using your Gmail or credentials. You will be taken to the your Bluehost dashboard after signing in.

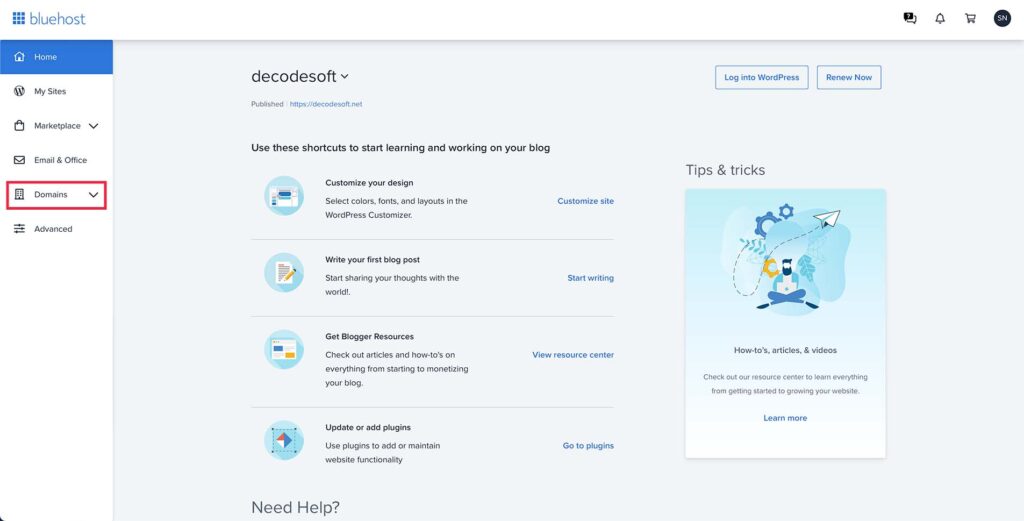
Step-2 : Navigate to the domains
Select the domain option from the options that appear on the left side

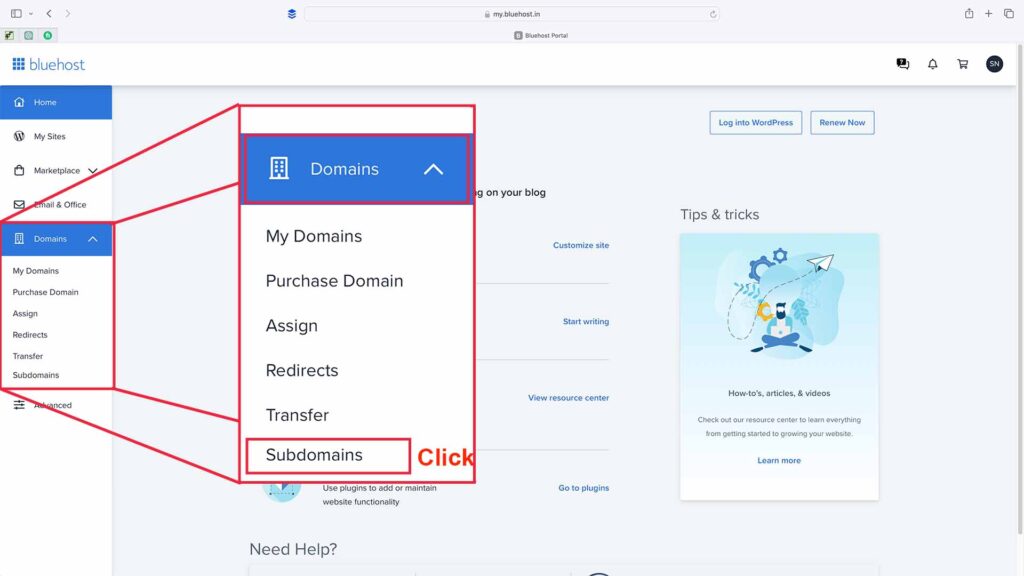
Step-3 : Click on ‘Subdomains‘
Find ‘Subdomains’ option and click on it. This will open to the Subdomains management page, here we can create and manage all our subdomains.

STEP-4 : ADD YOUR OWN SUBDOMAIN
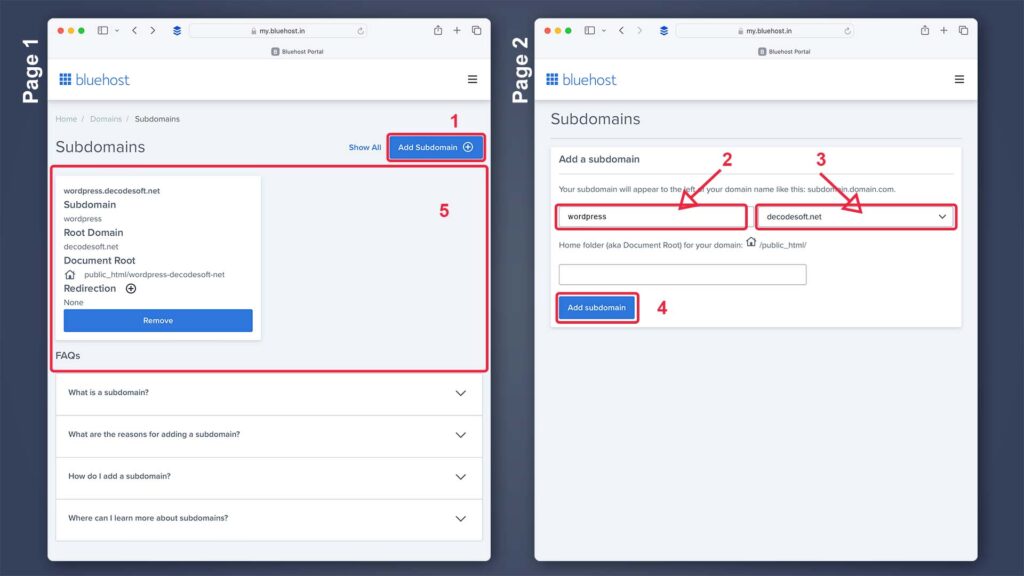
Now you will be taken to the subdomains page, Here you will see all your domains that have created, if you have not created subdomains you will see empty here
Follow the steps shown in page 1 image below
- Click ‘Add Subdomain‘ to create your own domain
- add sub-domain name you want here
- Select the domain which you want to link this sub-domain
- Click on ‘Add subdomain‘ now you successfully created your subdomain
- Here you will see your subdomain that you created here.

Conclusion:
The best option to manage website and provide best experience to visitors is to create subdomain in your main domain hosting account. Subdomains are the best way whether you want to up a blog page, e-commerce store, or separate section of your site, Then bluehost makes it easy to manage and create your own subdomains
Also providing in-depth youtube video, click this link and follow step by step by watching this video below
also checkout other blogs


1 thought on “How to create subdomain in bluehost 2024”